A concrete floor leveller only works well when the product matches the slab beneath it. Cement-based self-levelling compounds handle shallow dips on sound, dry slabs. Slabs that have dropped or cracked need to be lifted instead. So the best result starts with testing the floor, not with choosing a bag.
Key Takeaways
- Product choice depends on the depth of the low spot, the slab’s strength, and its moisture level.
- Self-levelling compounds fix surface dips, while a slab that has sunk needs lifting through slab jacking or resin injection.
- Moisture testing and priming prevent most levelling failures, including bond loss, curling and bubbling.
- Australian slab standards and state tolerance guides provide clear limits on how flat a finished floor should be.
How do you choose the right concrete floor leveller?
Three details drive the decision. You need the depth of the dip, the condition of the existing slab, and a moisture reading. Every product carries a working depth range on the bag. Most failures happen when someone pushes a product past that range.
Which product suits which slab problem?
The table below matches common floor problems to the products trades use in Australia.
| Slab problem | Suitable product | Typical depth | Watch for |
| Shallow dips and ripples | Cement-based self-levelling compound | 2 mm to 10 mm | Needs a primer and a sound surface |
| Small holes and feather edges | Patching or repairing mortar | Feather to 10 mm | Poor finish across large areas |
| Deep or uneven falls | Modified screed with added aggregate | 10 mm to 40 mm | Extra weight and longer drying |
| Damp or new slabs | Moisture barrier plus compound | Varies by system | Test the slab before you cover it |
| Slabs that have dropped | Polyurethane resin injection | Lifts the whole slab | Needs a licensed contractor |
Depth limits vary by brand, so the technical data sheet always prevails. Flooring trades follow set steps for priming, patching and applying levelling compounds, and those steps rarely change between products. National competency units for preparing and levelling concrete substrates cover the same ground for licensed floor layers.
What should you test before you buy?
A few quick checks save money later. Run through this list before you order any product.
- Lay a 2 m straightedge across the floor and mark every dip and high point.
- Measure the deepest low spot, since that number sets your product choice.
- Tap the surface and listen for hollow patches, which suggest delamination.
- Check cracks for width and for any step between the two sides.
- Take a moisture reading, because damp slabs ruin adhesives and coverings.
Building tolerance guides explain how much deviation counts as a defect in a finished floor. Many guides treat 4 mm of deviation under a 2 m straightedge as the practical limit. That figure gives you a fair target for a repair.
What are the benefits of using a concrete floor leveller?
Levelling a slab does more than tidy the look of a room. It protects the floor covering you install on top and keeps the surface safe to walk on. The gains below apply to homes, warehouses and commercial fit-outs alike.
- Tiles, timber and vinyl sit flat, so joints and locking systems hold together.
- The work fills dips without the dust, noise and cost of breaking out concrete.
- Foot traffic spreads evenly, which slows wear on the covering above.
- Most compounds cure fast, so other trades return to the room within a day.
- Falls near doorways disappear, which removes trip points in busy spaces.
- Adhesives bond better, so tiles and planks stay put for longer.
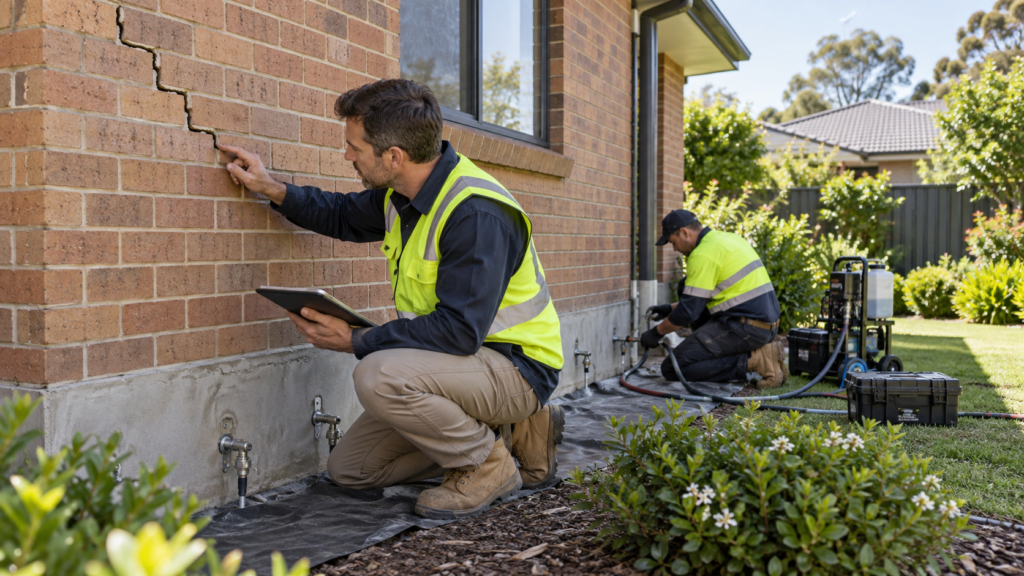
One benefit gets overlooked. A flat slab makes future problems easier to spot. Once the floor sits true, any new dip or crack points to movement below. Homes showing cracked walls or jammed doors and windows usually have that deeper issue, and a smooth floor makes the pattern clear.
How do you apply a concrete floor leveller for a smooth finish?
Application follows a set order. Skipping a step usually shows up in the finish. The two stages below cover preparation and the pour itself.
Which preparation steps come first?
Preparation takes longer than the pour and determines the result. Work through these steps in order.
- Remove all old adhesive, paint, curing compound and loose material.
- Grind or scarify the surface to open the concrete and provide a grip for the primer.
- Vacuum the slab twice, since dust blocks the bond more than anything else.
- Fill cracks and holes with a repair mortar and let it set.
- Test the slab for moisture using an in-situ probe, then record the reading.
- Seal doorways, pipe penetrations and expansion joints so the mix stays put.
- Apply the primer at the stated rate and let it dry fully.
Moisture guidance for Australian slabs recommends relative humidity testing within the slab rather than relying solely on surface readings. New slabs hold water for months. The way a slab is placed, cured, and finished also affects how quickly it dries out.
How do you mix and pour the compound?
Mixing accuracy matters more than speed. Measure the water, do not judge it by eye. Too much water weakens the mix and causes surface dusting later.
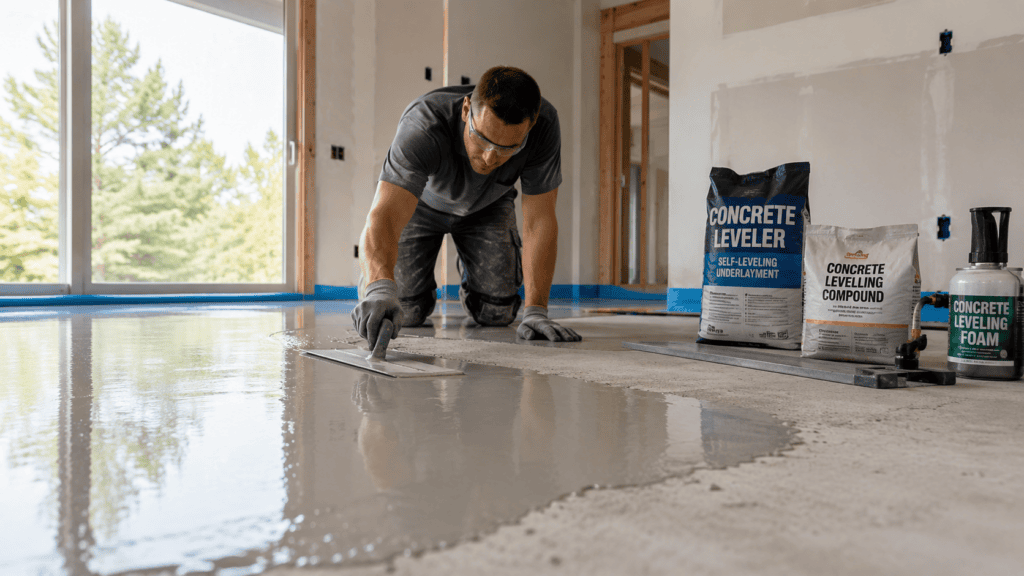
Pour the mix in a steady ribbon and work from the far corner towards the door. Spread it with a gauge rake set to your target depth. Then break the surface tension with a spiked roller, which releases trapped air. Blend each new batch into the wet edge of the last one.
Protect the freshly applied surface from draughts, heat, and direct sunlight while it sets. Guidance on applying levelling compounds stresses the need for controlled drying conditions for a reason. Fast drying pulls moisture from the top, causing curling at the edges.
When should you use a concrete floor leveller instead of replacing the slab?
Levelling compound treats the surface. It does nothing for the ground under the slab. That single point decides whether a compound solves your problem or hides it.
Which cases suit a levelling compound?
Compounds work well on stable slabs with surface faults only. These situations usually qualify.
- The slab shows dips from a poor original screed or trowel finish.
- Old adhesive or a removed floor covering left an uneven surface.
- Cracks sit tight, with no step or movement between the two sides.
- The floor has stayed the same shape for years with no new cracking.
- The dip measures within the depth range printed on the product.
Slab design rules explain how residential slabs and footings respond to soil movement across different site classes. Reactive clay soils lift and drop with moisture, and that behaviour drives most Australian slab problems. Background on how ground conditions support a slab makes the pattern easier to read.
Which cases need slab lifting or repair instead?
Some floors need work under the concrete, not on top of it. Look for these signs.
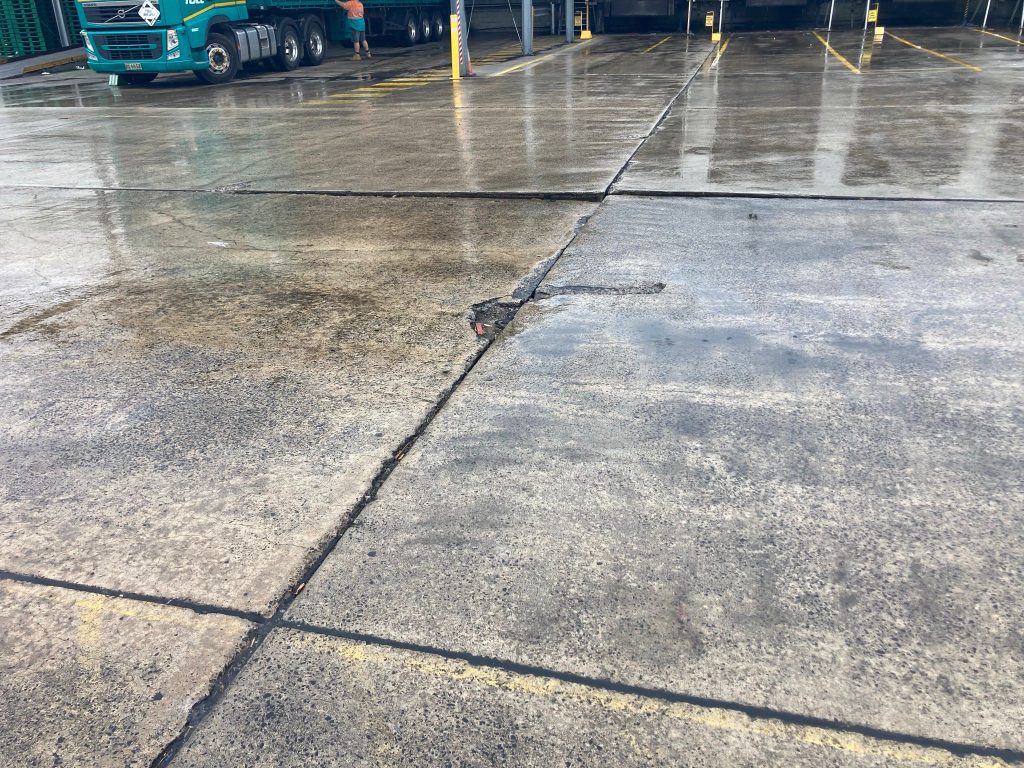
- One side of the room sits noticeably lower than the other.
- Cracks keep widening, or one side sits higher than the other.
- Doors and windows stick, and gaps open at cornices.
- The slab sounds hollow over a large area, suggesting the presence of voids.
- Water pooling or leaks have washed soil out from under the slab.
These floors require slab jacking or resin injection to raise the concrete back to level. Expanding polyurethane resin fills the void and raises the slab in controlled stages. Research on expanding polyurethane used in ground and slab work documents the lifting pressures involved, and studies on how foam properties change with the mix explain why on-site product control matters.
Deeper foundation faults need underpinning to reach stable ground. Cracks in the slab or walls get sealed through crack injection and repair. Weak soil zones respond to specialised grouting, while washed-out ground is suited to void filling and sinkhole work. Road and pavement guidance on stabilising weak subgrade materials applies the same logic at a larger scale.
What mistakes should you avoid when using a concrete floor leveller?
Most failures trace back to a handful of habits. Each one below shows up regularly on floors that need redoing within a year.
- Skipping the primer. Bare concrete drinks water from the mix, and the bond fails.
- Guessing the water ratio. Extra water causes dusting, shrinkage cracks and a weak surface.
- Ignoring moisture. Damp slabs push moisture upwards and lift the covering later.
- Exceeding the depth limit. Thick pours outside the stated range crack and curl.
- Levelling a moving slab. The compound cracks again once the ground shifts.
- Bridging expansion joints. Joints must carry through the new surface, not disappear under it.
- Rushing the covering. Laying tiles or timber too early traps moisture underneath.
The National Construction Code provisions for footings and slabs set the baseline for new work. Reference material on slab types and their behaviour in service helps explain why some floors move and others stay put.
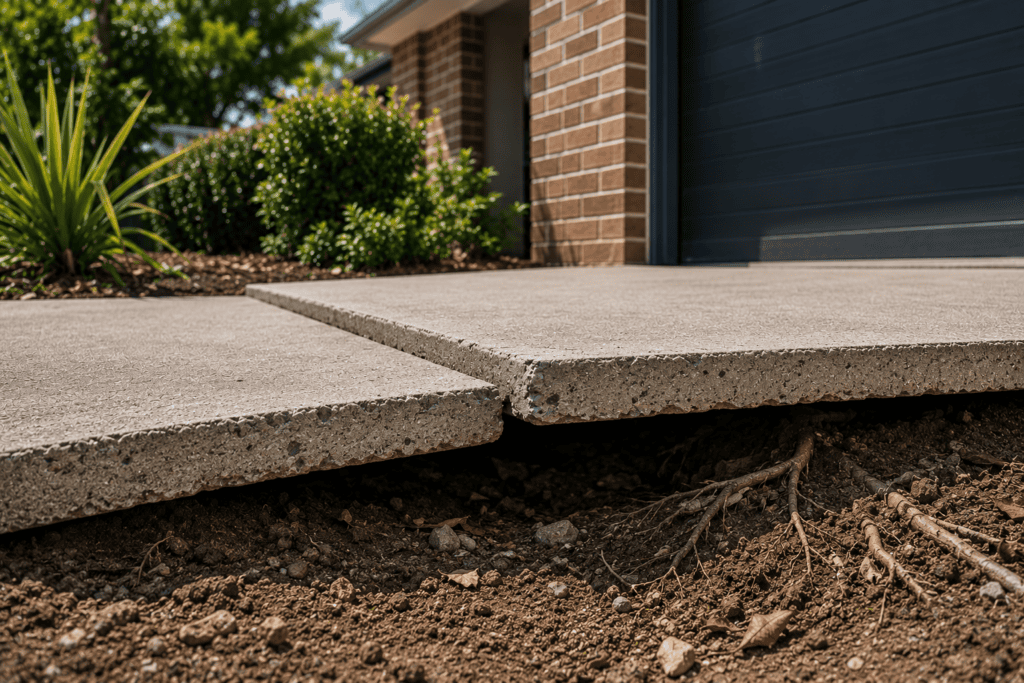
Homes with sinking floors, signs of subsidence or unlevel buildings need an assessment first. The same applies to driveway levelling and other residential work around the house.
Frequently Asked Questions
What is a concrete floor leveller?
A concrete floor leveller is a cement or gypsum-based product that fills dips in a concrete surface. It flows out to create a flat, smooth plane ready for tiles, timber, vinyl or carpet. It corrects the surface only and does not lift or support the slab itself.
How long does a concrete floor leveller take to dry?
Most self-levelling compounds allow foot traffic within 2 to 4 hours. Full drying before you install a floor covering usually takes twenty-four hours to seven days. The exact time depends on the depth poured, the room temperature and the airflow across the surface.
Can a concrete floor leveller be used on cracked concrete?
Yes, but only on stable cracks that show no ongoing movement. Fill and repair each crack first, then apply the compound over the top. Cracks that keep widening or show a step between the two sides indicate slab movement and require proper assessment before any levelling work begins.
Do I need a primer before applying a concrete floor leveller?
Yes, almost every system requires a primer on concrete. The primer prevents the slab from absorbing water from the fresh mix and helps the compound bond to the slab. Skipping this step is the most common cause of hollow patches and lifting once the floor gets used.
How thick can a concrete floor leveller be applied?
Standard self-levelling compounds pour from about 2 millimetres to 10 millimetres in a single layer—products modified with aggregate reach 30 to 40 millimetres in a single pour. Always follow the depth range on the technical data sheet, as exceeding it can cause cracking and curling.
Getting the product right saves the cost of redoing a floor. If your slab has dropped, cracked or sounds hollow, the surface is not the real problem. The team behind concrete levelling services across Australia assesses homes and commercial floors every week, from single rooms to full warehouse slabs. Have a look at the residential solutions available, then contact Raise and Relevel for advice on your floor.
Sources
- Applying Levelling Compounds, Flooring Technology (Australia) https://www.flooringtech.com.au/unit5_coatings_and_toppings/section3_priming_patching_levelling/lesson4_applying_levelling_compounds.htm
- Concrete Slabs: General, RMIT Learning Lab BuildRight Toolbox https://learninglab.rmit.edu.au/Toolbox/buildright/content/bcgbc4010a/10_floor_systems/01_concrete_slab_general/page_001.htm
- Concrete Slab Types and Behaviour, RMIT Learning Lab BuildRight Toolbox https://learninglab.rmit.edu.au/Toolbox/buildright/content/bcgbc4010a/10_floor_systems/01_concrete_slab_general/page_003.htm
- TG002 Moisture Content in Concrete Slabs, Government of Western Australia https://www.wa.gov.au/government/publications/tg002-moisture-content-concrete-slabs
- TG002 Moisture Content in Concrete Slabs (PDF), Government of Western Australia https://www.wa.gov.au/system/files/2025-11/tg002-moisture-content-in-concrete-slabs.pdf
- Industry Bulletin 031: Placement, Curing and Finishing of Residential Concrete Floor Slabs, Government of Western Australia https://www.wa.gov.au/system/files/2024-10/ib_031_placement_curing_and_finishing_of_residential_concrete_floor_slabs_nov_2013_0.pdf
- Guide to Standards and Tolerances, Queensland Building and Construction Commission https://www.qbcc.qld.gov.au/sites/default/files/documents/guide-standards-tolerances.pdf
- AS 2870-2011 Residential Slabs and Footings, Standards Australia https://www.standards.org.au/standards-catalogue/standard-details?designation=as-2870-2011
- Use of Expanding Polyurethane Resin in Ground Improvement, University of Newcastle https://www.newcastle.edu.au/__data/assets/pdf_file/0005/23477/16_Use-of-expanding-PUR.pdf
- Polyurethane Foam: The Foaming Process and the Effect of Process Parameters on Properties, University of Southern Queensland https://research.usq.edu.au/item/z996x/polyurethane-foam-the-foaming-process-and-the-effect-of-process-parameters-on-properties
- Structural Performance of Polyurethane Foam Filled Building Components, Western Sydney University https://researchers.westernsydney.edu.au/en/publications/structural-performance-of-polyurethane-foam-filled-building-compo/
- Guide to Pavement Technology Part 4C: Materials for Concrete Road Pavements, Austroads https://austroads.gov.au/publications/pavement/agpt04c-ed-2-0.
- MSFFL2032 Prepare and Level Concrete Substrates, training.gov.au https://training.gov.au/TrainingComponentFiles/MSF/MSFFL2032_R1.pdf